
A low price means little if the protector doesn’t fit the Autel display. An Autel screen protector has no single universal price or installation kit; the price and included accessories depend on the specific product listing. Fit is model-specific: protectors for the MaxiSys MS906, MS906TS, and MS906BT are sized for an 8-inch screen, while the protector for the MS906Pro and MS906Pro-TS isn’t intended for those models.
Compare more than price when choosing an Autel screen protector. The right fit protects the display you use, and checking the package contents helps you prepare for installation without assuming an accessory is included.
This guide explains how to compare Autel screen protector prices, confirm the correct model fit, and understand which installation accessories a listing includes. You’ll also learn what to consider when choosing protection for Autel diagnostic equipment, so you can make an informed decision for your device.
Key Takeaways
- Compare the package contents before buying so you know which installation accessories come with the protector.
- Prepare the Autel display carefully and follow the installation sequence to help keep dust and alignment issues from disrupting the fit.
- Match the protector to the exact scanner model; similar model names don’t always mean the same screen size or compatibility.
- For smartphone camera lens protection, explore My IPG’s IPG Phone camera lens protector as a separate option from an Autel display protector.
Included installation accessories
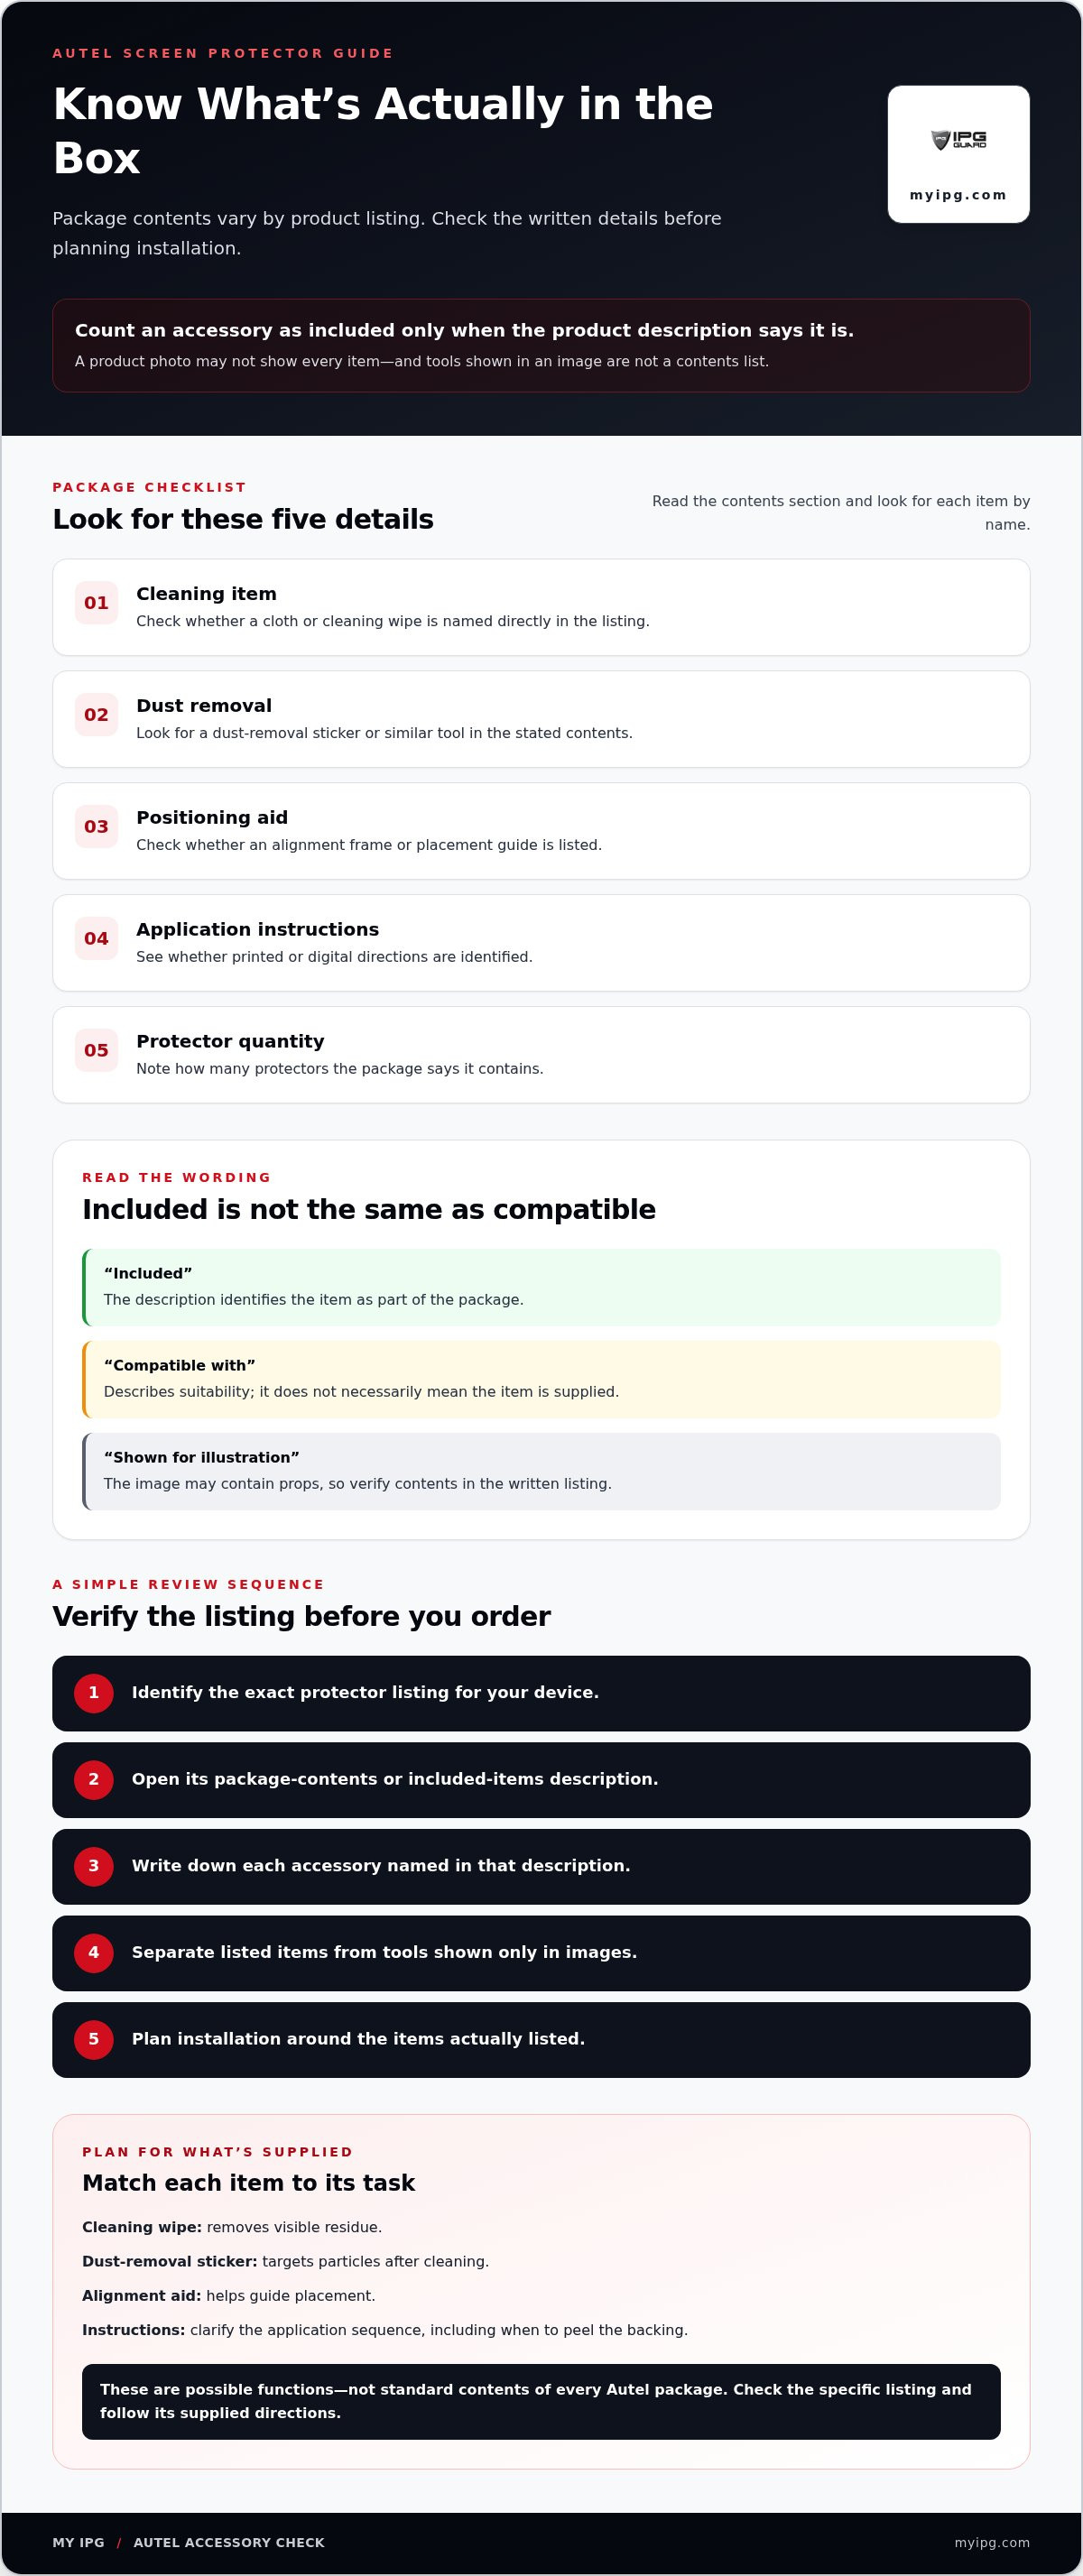
Check package contents before installation. A screen protector may come alone or with application items, so rely on the product listing. Read the contents section and look for named accessories, not broad claims. “Installation kit included” gives little detail; a clear list identifies each component. For instance, a listing might name a cleaning cloth. Count it as included only when the description says so, and don’t assume other items come with it.
Distinguish the protector from its application tools. The film or glass protects the display; accessories help prepare the surface or position the protector. A cloth, dust-removal sticker, or alignment aid are possible examples, not standard package contents. A product photo may not show every included item, so use the written details to understand what arrives.
Check the listing for these details:
- Cleaning item: Look for a cloth or cleaning wipe named directly.
- Dust removal: Check whether a sticker or similar tool appears in the contents.
- Positioning aid: Look for an alignment frame or placement guide, if listed.
- Application instructions: Check whether printed or digital directions are identified.
- Protector quantity: Note how many protectors the package states it contains.
Each listed detail helps you prepare. A cloth can help with surface cleaning, a dust-removal sticker provides a specific dust-control step, and an alignment aid can guide placement. Instructions explain the application sequence, while the stated quantity clarifies what’s included. Don’t treat a product image as a contents list. Check the written description for each item.
Match each accessory to its task. A cleaning wipe removes visible residue; a dust-removal sticker targets particles after cleaning; an alignment guide helps position the protector. Instructions clarify when to peel the backing. These examples describe possible functions, not the contents of every Autel package. Check the listing carefully to see which items it says are included.
Before ordering, compare package descriptions side by side, keeping your Autel device model in view. A listing for a MaxiSys protector may describe different contents from another product listing. Check the title, compatibility details, and package contents together. This helps prevent you from assuming accessories described for one product come with another.
Use this simple review sequence:
- Identify the exact protector listing for your device.
- Open its package-contents or included-items description.
- Write down each accessory named in that description.
- Separate included items from tools shown only in images.
- Plan installation around the items actually listed.
This review can also reveal preparation gaps. If a listing names a cloth but no alignment aid, plan how you’ll position the protector. If it includes instructions, follow them. If no cleaning item is listed, prepare a clean, suitable workspace. These are planning examples, not claims about a particular package. Protect the screen from avoidable dust while preparing.
Pay close attention to accessory wording. “Included” means the description identifies an item as part of the package. “Compatible with” describes suitability, not necessarily inclusion. “Shown for illustration” indicates that an image may contain props. Read each phrase in context, and count a tool as supplied only when the listing says it’s included.
Prepare deliberately when installing a protector on a diagnostic tool. Keep the backing clean until placement, and set out only the accessories listed for that package. Follow the supplied directions instead of assuming all Autel screen protectors use the same method. Package-specific instructions help prevent avoidable handling errors.
Finish your review with a practical question: can you complete the application steps using the listed contents and your prepared workspace? If the description names a cloth, dust tool, and instructions, account for each. If it lists fewer items, plan accordingly. Reading carefully sets realistic expectations before the protector reaches your workbench.
How do you install a screen protector on an Autel device?
Start with the instructions supplied with your protector. Film and tempered glass may require different application methods, so keep the Autel device and its protector together to avoid mixing directions from separate packages. An Autel screen protector should sit flat over its intended display. Careful preparation helps control dust, alignment, and handling.
Choose a clean, stable work surface before opening the package. A clear bench gives you room for the device and accessories. Move drinks, loose paper, and dusty materials away, then wash and dry your hands. Remove the device case if needed, and set the scanner securely on the surface. Avoid touching the protector’s adhesive side.
Prepare the display by following the package directions for any supplied cleaning items. Wipe the screen gently, including its edges, then inspect it under good lighting and remove visible residue before proceeding. If the package includes a dust-removal sticker, use it as directed. Don’t substitute household cleaners or tools for the package instructions. A clean display leaves fewer places for particles to get trapped.
Use this sequence for a controlled application:
- Compare the protector’s outline with the display before peeling anything.
- Identify the backing layer and its marked edge.
- Hold the protector by its edges, not its adhesive surface.
- Align cutouts and borders with the screen’s visible features.
- Lower one edge gradually while keeping alignment steady.
- Let the protector settle across the display without forcing it.
- Use a supplied applicator only as its instructions describe.
- Inspect the screen and edges before returning the scanner to work.
Take care with alignment. Check the corners before the protector makes contact, since a slight shift at the top can affect the opposite edge. Use the screen border as a visual guide, keeping buttons, sensors, and openings clear. If the protector looks offset before contact, lift it carefully and reposition it before pressing down.
After placement, inspect the full screen under steady light. Look for trapped dust, raised corners, and uneven edges. Don’t press hard over a visible particle. Follow the protector’s directions for bubbles or lifting: some methods allow repositioning, while others don’t. Use the package instructions for that specific film or glass.
Keep the device still during the final inspection. Check that the protector doesn’t obstruct screen controls or display edges. Turn on the Autel scanner after completing the application steps, then confirm that the touchscreen responds across the visible display. If an area feels unresponsive, inspect alignment and edge coverage. Don’t scrape the protector with sharp tools.
Many installation problems begin before placement. Dust can settle when the adhesive surface is exposed, misalignment can occur if the protector is lowered too quickly, and fingerprints can transfer when you touch the adhesive. Slow handling helps you spot these risks early. Prepare the workspace, read the instructions, and keep each component in order.
Don’t assume every Autel model uses the same protector shape. The listed fit determines the outline and placement. Check the model name before beginning. For a matching diagnostic-tool option, view the Autel diagnostic-tool screen protector listing and compare its stated compatible models with your scanner.
Finish by checking the display from several angles. Confirm the protector sits within the screen borders and doesn’t cover a control or opening. Keep the device clean as you handle it after installation. A careful application protects the display without distracting from diagnostic work. Save the package directions for later, especially if they explain care or removal.
Protector fits
Start with the exact Autel scanner model. Similar model names can hide different screen dimensions and outlines. The listed protector for the MaxiSys MS906, MS906TS, and MS906BT is sized for an 8-inch screen. Treat those model identifiers as separate compatibility details, not interchangeable labels. Match the full name printed on your scanner with the protector listing before buying.
Model suffixes matter. The protector listed for the MaxiSys MS906Pro and MS906Pro-TS is not intended for the MS906, MS906BT, or MS906TS. That distinction rules out a common shortcut: choosing by the shared “MS906” text alone. Read every character, including “Pro” and “TS.” A partial match is not a reliable fit check.
Use this comparison before selecting a protector:
- MS906: Match the exact model name; the listed fit is for an 8-inch screen.
- MS906TS: The listed protector shares that 8-inch screen sizing.
- MS906BT: The same listed 8-inch sizing applies.
- MS906Pro: Don’t substitute the protector intended for the earlier MS906 models.
- MS906Pro-TS: Treat this as a distinct model from MS906TS.
Screen size is useful, but it isn’t the whole fit. An 8-inch measurement describes the display category. The protector’s shape must also line up with the screen’s visible edges and openings. A diagonal measurement alone cannot establish that cutouts or borders match. Use the model-specific listing as your main reference, then compare the named model carefully.
Check the device label rather than relying on memory. Look at the scanner’s model marking or its product identification screen. Record the complete name, including letters and suffixes. For example, write “MS906Pro-TS,” not simply “MS906.” Then compare that complete label against the protector compatibility text. This small step prevents confusion between closely named Autel tools.
When a listing names several models, verify each one directly. A group of compatible names does not mean every Autel MaxiSys model fits. The listed 8-inch protector covers MS906, MS906TS, and MS906BT. The MS906Pro and MS906Pro-TS belong to a different fit distinction. Don’t extend either statement to another model without a matching compatibility entry.
Use this fit-check sequence:
- Read the complete model name on the Autel device.
- Copy every letter and suffix exactly.
- Find the same complete name in the protector listing.
- Compare listed screen sizing when the listing provides it.
- Keep the product selected only when model details align.
Watch for abbreviated titles. A headline may shorten the device name, while the compatibility details provide the full model list. Read both sections before deciding. If a title says “MS906 series,” inspect the detailed names rather than assuming every member fits. The distinction between MS906TS and MS906Pro-TS shows why suffixes deserve attention.
A visual comparison can help once you’ve matched the model. Hold the protector over the display without exposing its adhesive, then check the perimeter and visible openings. Don’t let this check override incompatible model information: screens can look similar but need different outlines. Confirm the model first, then use shape as a secondary check.
For a diagnostic workflow, record the scanner model alongside the protector details. This helps avoid mix-ups when several Autel tools share a workbench. Keep each protector with its matching device until installation. The exact model name and listed screen fit provide the clearest basis for choosing. Match both, rather than relying on brand or screen size alone.
My IPG: IPG Phone camera lens protector
My IPG offers the IPG Phone camera lens protector for readers protecting a smartphone camera alongside diagnostic equipment. It’s a separate option from a scanner display protector, suited to a different device and surface. If you’re also choosing phone protection, My IPG offers the IPG iPhone screen protector, IPG Samsung screen protector, and IPG Camera Lens Protector for iPhone Samsung Tempered glass. Match the option to the device you want to protect, rather than treating phone and Autel display protection as interchangeable. For smartphone camera lens protection, visit My IPG’s phone camera lens protector.
Protect the Device You Use Next
Choose protection based on the device’s role. A diagnostic scanner has different demands from a phone’s camera and display, so keep those needs separate when planning a purchase. The right Autel screen protector starts with the exact tool and a compatible fit, not a guess based on appearance.
My IPG offers the IPG Phone camera lens protector, IPG iPhone screen protector, and IPG Samsung screen protector for phone protection. These products protect different surfaces from an Autel diagnostic display, so choose according to the device you want to protect. A clear choice helps you focus on preserving the equipment that matters to your workflow.
Explore the available options or ask about screen protectors for your device. Contact My IPG about screen protectors. Take the next step with care, and keep your essential technology ready for the work ahead.