


A single trapped dust particle can instantly turn a premium 9H+ aviation-grade protector into a wasted investment. Most users approach screen protection as a simple peel and stick task, but professional results require environment control and mechanical precision. If you have ever felt the frustration of a persistent air bubble or a misaligned camera cutout, you know that a botched installation is more than an eyesore. It is a risk to the resale value of your hardware, which can drop by up to $200 due to preventable micro-scratches. This guide teaches you exactly how to put a screen guard on with the meticulous care your high-value devices deserve.
We understand that you view your technology as an investment to be guarded. You want a crystal-clear, invisible shield that feels like the original glass under your fingertips. We promise to reveal the specialist techniques, including the physics of the Hinge Method, to ensure a bubble-free application on any surface. From your iPhone camera lens to complex Snap-on tool displays and Tesla navigation screens, you will gain the confidence to achieve a factory-perfect finish. We will walk through the essential prep work, the alignment secrets, and the final seal for total device security.
Key Takeaways
- Create a laboratory-grade environment by utilizing the "Steamy Bathroom" protocol to eliminate static and airborne lint.
- Learn how to put a screen guard on with surgical precision using the Hinge Method to lock your alignment before the adhesive makes contact.
- Master the tactile differences between rigid tempered glass and flexible IPG Original Hydrogel, including the "Wet Method" for repositionable clarity.
- Save your investment with the "Lift and Dab" rescue technique, allowing you to remove trapped dust particles without compromising the shield.
- Extend your protection expertise to high-value assets like Tesla navigation displays and rugged Snap-on diagnostic equipment.
The Guardian’s Setup: Creating a Dust-Free Environment
Static electricity is the primary enemy of a perfect installation. When you peel the protective backing from a shield, you generate a localized electromagnetic charge. This charge acts as a magnet for microscopic lint and skin cells floating in the air. Understanding how to put a screen guard on like a specialist requires you to master the physics of your workspace before you ever touch the adhesive. Professional results are not a matter of luck; they are the result of rigorous environment control. We treat every device with the stewardship it deserves, ensuring that no foreign particles compromise the bond between the protector and your high-value hardware.
The most effective home solution is the "Steamy Bathroom" protocol. Run a hot shower for five to ten minutes until the room is lightly misted. The increased humidity binds to airborne dust, making particles too heavy to remain buoyant. As they settle to the floor, you are left with a temporary clean-room environment. Combine this with a lateral light source. Position a desk lamp at a low, sharp angle across the screen surface. This lighting setup highlights the shadows of micro-dust that standard overhead lights miss, allowing for a surgical level of inspection.
Your essential toolkit must be ready before you begin. Gather a high-density microfiber cloth, dust removal stickers, and alignment tabs. Different screen protector materials react differently to environmental factors, so having these tools at hand ensures you can respond to any stray lint immediately. This methodical preparation is what separates a DIY attempt from a professional-grade shield.
Simulating a Clean Room at Home
Airflow management is critical for a bubble-free finish. Turn off all fans, heaters, and air conditioning units at least 15 minutes prior to starting. This allows the remaining airborne debris to settle. Wear short sleeves to prevent fabric fibers from shedding onto the glass. Finally, wipe your entire work surface with a damp cloth. This "locks down" surface dust, preventing it from being kicked up by your movements during the process of learning how to put a screen guard on your device.
The IPG Zerodust Preparation
Neutralizing the screen surface is the final step in professional-grade prep. Use the IPG Zerodust kit to eliminate surface ions that attract lint. Employ the "Double-Wipe" technique: first, use a wet alcohol prep pad to dissolve finger oils and factory coatings. Follow immediately with a dry microfiber cloth, wiping in a single, consistent direction to avoid circular scratching. Finish with a final inspection using the dust sticker as a "tack" tool. Lightly dab the entire surface to capture the last invisible strays, ensuring the glass is pristine and ready for its protective layer.
Step-by-Step: The Professional Hinge Method
The Hinge Method is the industry standard for precision. Most failed attempts occur because the protector "drifts" the moment it touches the screen. Learning how to put a screen guard on correctly means eliminating this drift entirely. By creating a mechanical pivot point, you ensure the alignment you set at the beginning is the alignment you get at the end. This technique works for everything from a standard phone to a large-format display. If you are protecting a high-value device, consider using an IPG iPhone screen protector to ensure the material quality matches your installation technique.
Start with pre-alignment. Place the protector onto the device with the adhesive backing still intact. Use the camera cutout and the edges of the display as your North Star. Even a half-millimeter of misalignment can cause lifting later. Once the position is perfect, you are ready to secure the hinge. This stage is where you verify compatibility with your specific hardware. Comparing protector materials is essential because rigid tempered glass requires a much tighter hinge than flexible TPU to prevent lateral movement during the drop.
Securing the Alignment Tabs
Apply three strips of tape or alignment tabs to one side of the device. Attach them first to the top surface of the protector, then wrap them tightly around the side of the phone. This creates a secure "book cover" effect. Open and close the protector several times to verify that it lands exactly where it should. Ensure the hinge tension is consistent. Lateral shifting during the final peel is the leading cause of crooked installations and wasted materials.
The Perfect Drop
Swing the protector open like a book. Clean the screen one last time with your dust sticker to catch anything that settled during the hinge setup. Peel the protective backing while holding the guard at a 45-degree angle. This angle is vital. It allows the air to be pushed forward as the adhesive makes contact, rather than trapping it in the center.
Let gravity pull the protector down. Don't press the edges first. Instead, apply firm pressure to the exact center of the screen. Watch as the adhesive spreads outward in a wave. Use a squeegee or the edge of a credit card to drive any remaining air toward the nearest edge. This methodical approach is the secret of how to put a screen guard on without a single bubble. If you feel resistance, stop and check for dust. Precision is about patience and following the physics of the bond.
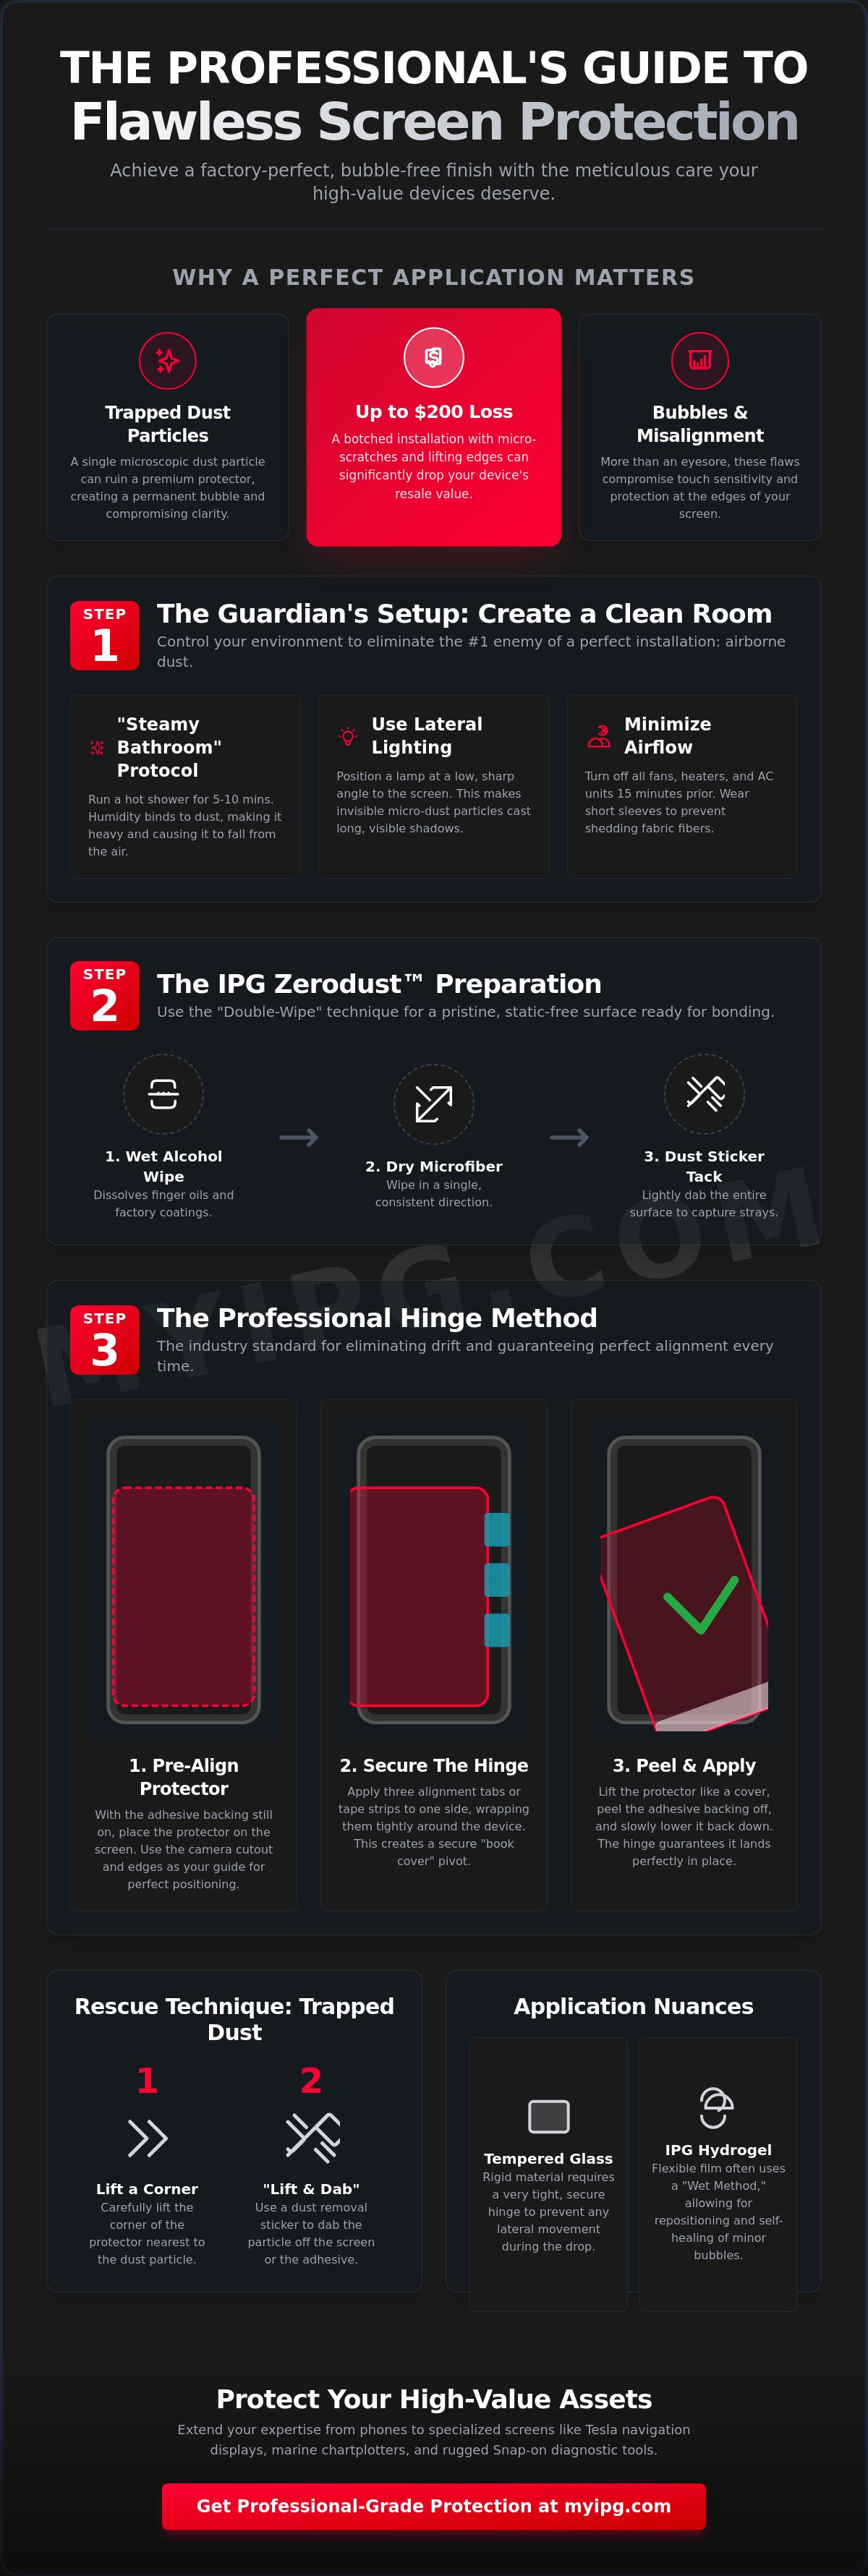
Hydrogel vs. Tempered Glass: Application Nuances
Not all shields are created equal. The physics of how to put a screen guard on your device changes significantly based on the material density and adhesive chemistry. Tempered glass relies on a high-tension silicone layer that initiates a vacuum-like seal across the flat surface of your display. In contrast, the IPG Original (Hydrogel) Screen Protector uses a thermoplastic polyurethane base. This material is flexible and requires a different tactile strategy to ensure long-term durability and edge-to-edge security. Understanding these material-specific behaviors is essential for a professional finish.
While glass is rigid, hydrogel is elastic. This elasticity is a benefit for impact absorption but a challenge during installation if you aren't prepared. The tactile response of the material dictates how much pressure you apply and how you manage the bond. If you've mastered the environment prep from our earlier sections, you're ready to handle the specific requirements of your chosen shield. Each material has a unique curing profile that determines when your device is truly ready for daily use.
Mastering IPG Hydrogel Application
Precision with hydrogel often involves the "Mist" technique. By applying a light specialized solution to the adhesive side, you temporarily neutralize the tackiness. This allows you to slide the protector into the perfect position. It's the most reliable method for how to put a screen guard on devices with complex sensor arrays or curved displays. When using the squeegee, apply consistent pressure from the center outward. Don't pull or tug the film, as stretching lead to edge lifting. You might notice a slight haze or micro-bubbles immediately after a wet install. This is normal moisture trapped under the semi-permeable membrane. It will dissipate naturally as the material cures.
Tempered Glass Precision
Tempered glass installation is a study in "Self-Adhering" physics. Once aligned, a single touch in the center triggers a wave of silicone adhesion that drives air out to the perimeters. Follow the "Zero-Touch" rule: never touch the underside of the glass. Even microscopic skin oils can ruin the molecular bond, creating permanent "ghost bubbles" that won't nudge. For screens with slight curvatures, watch for the "Halo Effect," where air remains trapped at the very edge. This usually indicates a minor alignment error that prevents the rigid glass from seating properly. For more details on choosing the right material for your lifestyle, see Hydrogel vs. Glass: Finding Your Perfect Shield.
Final curing times vary by material. Tempered glass bonds almost instantly, allowing you to install a protective case within 30 minutes. Hydrogel requires more stewardship. We recommend a 24-hour waiting period before putting your device into a tight-fitting case. This patience ensures the edges have fully set and the adhesive has reached its maximum strength, preserving the integrity of your high-value equipment.
Troubleshooting: How to Fix Bubbles and Trapped Dust
Even with a perfect environment, a single stray fiber can compromise the bond. Don't panic. Mastery of how to put a screen guard on with professional results involves knowing how to salvage an installation without wasting the material. Most users make the mistake of using a fingernail to lift the edge when they spot a defect. This is a critical error. A fingernail creates a permanent "kink" or "stress mark" in the protector that will never disappear. Instead, use a controlled mechanical approach to lift, clean, and reseat the shield.
Identifying the difference between a fixable air pocket and a terminal material defect is essential. A bubble is simply trapped air that can be moved. A kink is a physical bend in the protector's structure, often caused by improper handling. If you see a sharp, jagged line that doesn't move under pressure, the protector is likely compromised. However, most other issues, including trapped lint, are reversible if you act before the adhesive fully cures.
Removing Trapped Dust Particles
Use the "Lift and Dab" rescue method to remove debris. Apply a small piece of clear tape to the corner of the protector nearest the dust speck. Use this tape "hinge" to gently lift the protector just enough to reach the particle. Slide a dust removal sticker under the film with the adhesive side facing up. To remove the particle without leaving a smudge, use the dust-removal sticker to dab the speck vertically, ensuring your fingers never make direct contact with the adhesive layer. Once the dust is gone, let the protector fall back into place and use your squeegee to reseat the edge.
Banishing Stubborn Air Bubbles
If air pockets remain, use the "spiral out" method. Start your squeegee in the center of the bubble and push it toward the nearest edge in a slow, firm circular motion. For particularly stubborn pockets, try the "Heat Assist." Use a hairdryer on its lowest heat setting for five seconds to slightly soften the adhesive, making it more pliable. This is especially effective for Removing Air Bubbles from Your Protector when working with thicker tempered glass.
Be patient with "Ghost Bubbles." These are tiny, hazy pockets that often appear after a hydrogel installation. Because materials like the IPG Original (Hydrogel) Screen Protector are semi-permeable, small amounts of trapped air or moisture will naturally dissipate through the membrane within 24 hours. If a corner refuses to stay down, check for "Edge Lifting" caused by a microscopic alignment error. A slight nudge with a squeegee while applying low heat can often reset the bond. If you need a fresh start with professional-grade tools, consider the IPG Zerodust Screen Protector kit to ensure your next attempt is flawless.
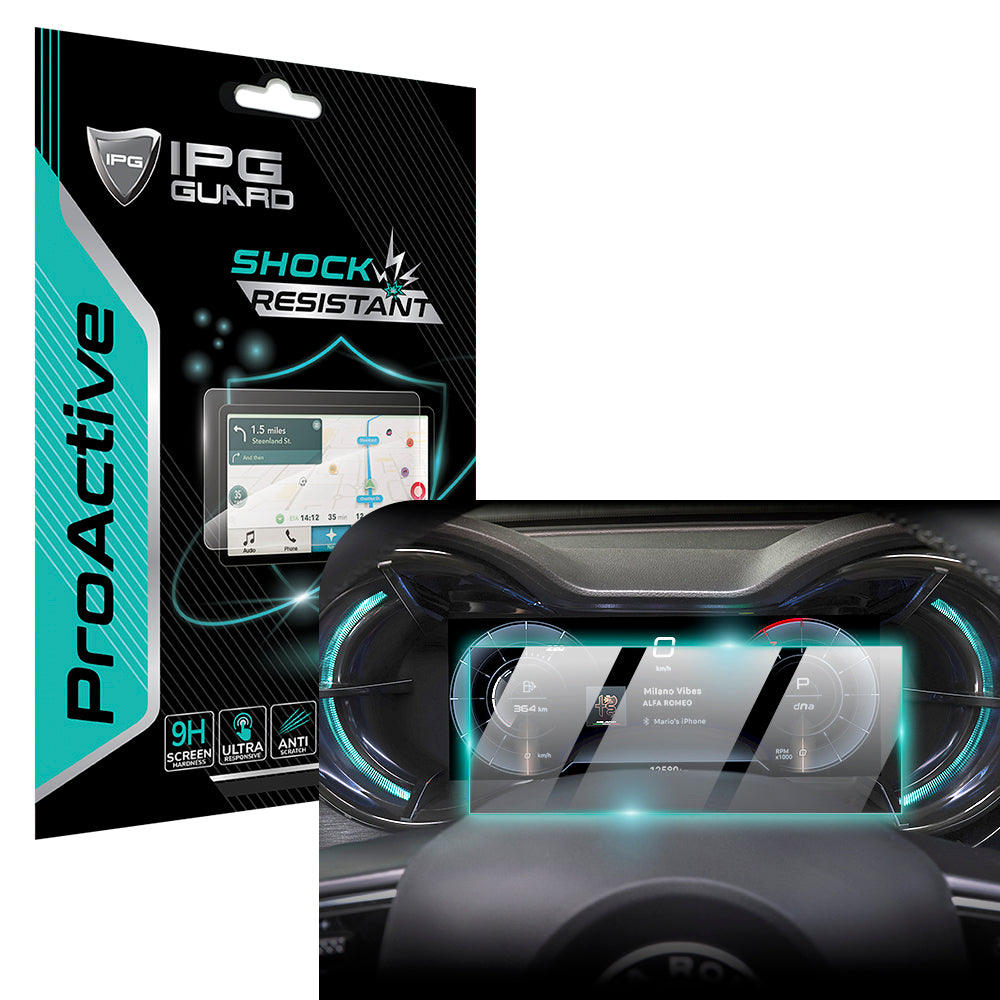
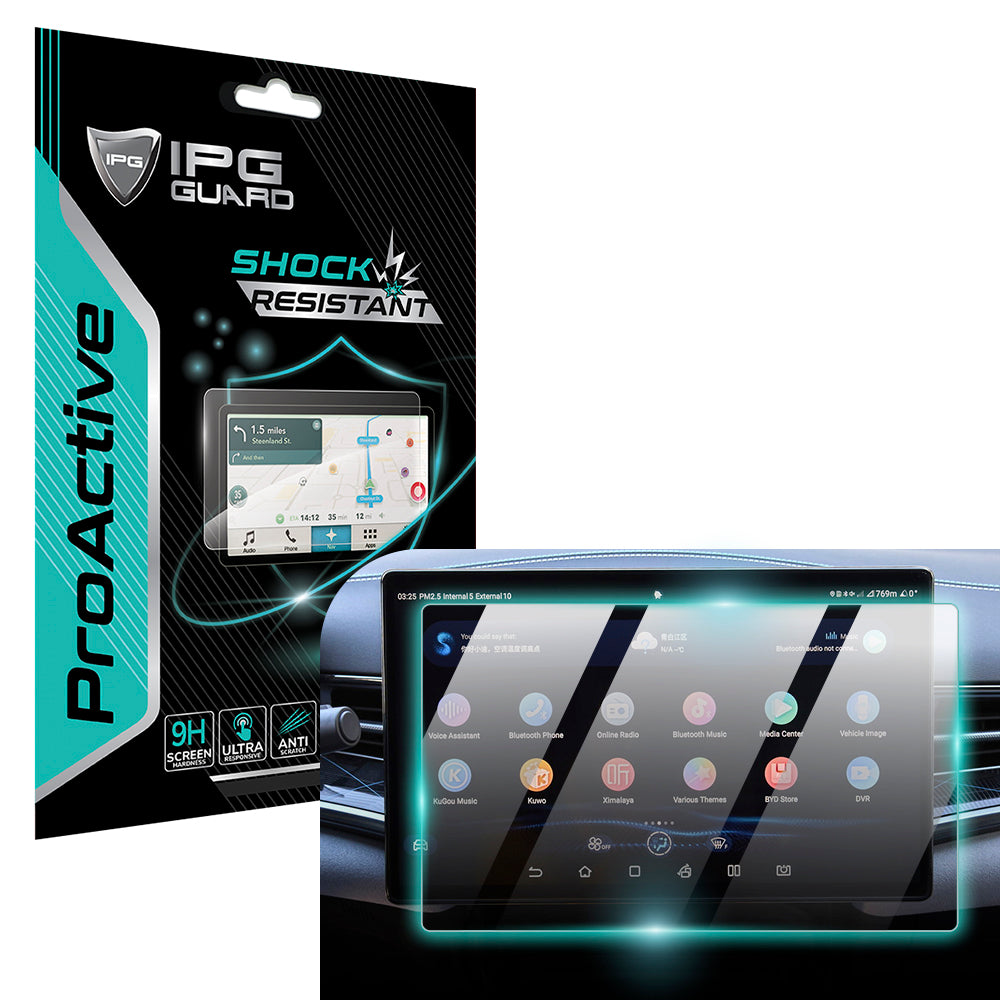
Protecting Specialized Screens: Automotive, Marine, and Industrial
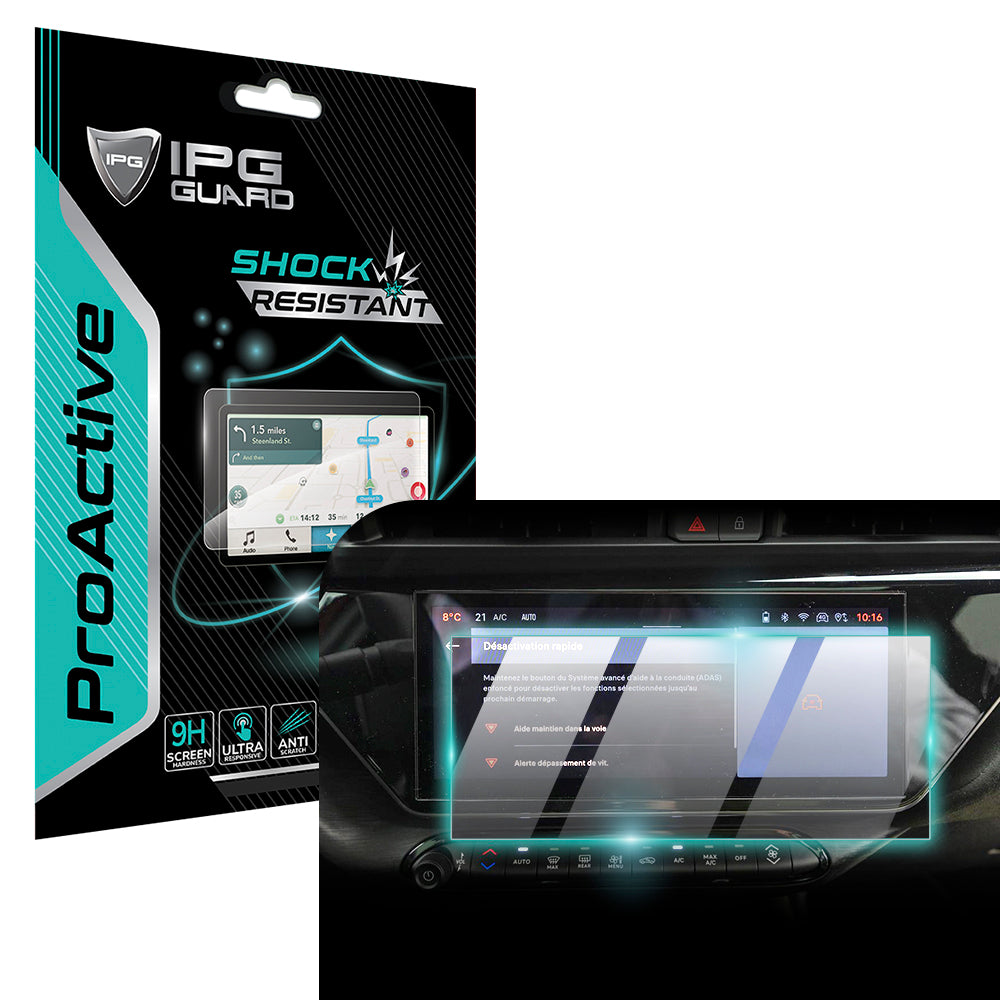
Specialized equipment requires a specialized approach to stewardship. Protecting a 15.6-inch BYD SEAL navigation display or a Tesla Model 3 screen involves managing surface area and gravity in ways a smartphone doesn't. When learning how to put a screen guard on these large-format panels, you must account for the cabin environment. High-temperature exposure in a parked vehicle can cause inferior adhesives to bubble or delaminate. Using a product like the IPG ProActive for BYD 2022‑2025 SEAL Navigation Display Screen Protector ensures the molecular bond remains stable even in extreme heat, preserving your vehicle's interior tech and resale value.
The stakes are equally high for industrial and marine hardware. A scratched display on a Snap-on Triton or an Autel MaxiSYS MS919 doesn't just look bad; it can hinder critical diagnostic data in a fast-paced workshop. Similarly, marine electronics face the constant threat of saltwater corrosion and UV degradation. Whether you are guarding a Harley-Davidson cluster display or a Lowrance Eagle fishfinder, the goal is a permanent, invisible barrier that survives the elements. This is about more than aesthetics. It is about maintaining the functional integrity of the tools you rely on every day.
Car Navigation Screen Installation
Installing on a vertical surface is a test of patience and physics. We recommend a two-person team for automotive displays to prevent the "drift" mentioned in our earlier sections. One person maintains the alignment while the other manages the "Book Fold" peel and initial center-out pressure. Anti-glare alignment is critical here. If the matte finish is even slightly off-axis, it can distort pixels and create a distracting "rainbow" effect on your GPS map. Ensure the cabin is cool and the display is at room temperature before starting to prevent the adhesive from setting too quickly.
Industrial and Marine Gear
Industrial diagnostic tools often feature recessed screens that make traditional hinge methods difficult. A "Dry-Run" is a necessity. Place the protector into the recess without peeling the backing to map out your exact clearance. For marine units like the Lowrance Eagle or Garmin DESCENT, saltwater resistance is the priority. Prep the unit by removing all salt residue with distilled water before your final alcohol wipe. This meticulous cleaning ensures a waterproof seal that prevents brine from seeping under the edges. For those managing multiple devices in a professional setting, mastering Industrial HMI Screen Protection is the final step in becoming a true guardian of technology. This methodical approach ensures that even your most rugged equipment remains in showroom condition through years of heavy use.
Applying a shield to a motorcycle cluster display follows the same logic. These screens face direct, punishing UV rays and wind-driven grit. Using an IPG Camera Lens Protector for Harley cluster displays provides the necessary impact resistance without compromising visibility in high-glare environments. By following these specialist protocols, you ensure that every screen in your life, from your pocket to your cockpit, stays perfectly protected. You now have the technical authority to manage how to put a screen guard on any device with professional-grade confidence.
Master the Art of Total Device Security
Professional screen protection is a commitment to the longevity of your high-value assets. By mastering environment control and the Hinge Method, you've moved beyond the guesswork of standard DIY attempts. You now possess the specialized knowledge to manage static electricity, handle material-specific curing times, and perform surgical dust removals. Learning how to put a screen guard on with this level of technical authority ensures your hardware remains in pristine, showroom condition for years to come.
Don't leave the integrity of your display to chance. Whether you are guarding a smartphone, a Tesla navigation panel, or industrial Snap-on diagnostics, precision matters. We provide specialized fits for 5,000+ devices using our advanced ProActive hydrogel technology. It is the same reliability trusted by Tesla and Snap-on owners worldwide to preserve the items they value most. Secure your device with a precision-cut IPG Shield and experience the clarity of a factory-perfect finish. You have the tools and the technique. It's time to protect what matters.
Frequently Asked Questions
How do I get air bubbles out of a screen protector after it's already on?
Push the air bubbles toward the nearest edge using a squeegee or the edge of a credit card wrapped in a microfiber cloth. Use firm, consistent pressure to drive the air out. If a bubble is caused by a trapped dust particle, you'll need to use the "Lift and Dab" method mentioned earlier to remove the debris. Small "ghost bubbles" in hydrogel materials often disappear on their own within 24 hours as the semi-permeable membrane breathes.
Can I wash and reuse a screen protector if I mess up the first time?
Most modern tempered glass protectors shouldn't be washed because water and soap destroy the specialized silicone adhesive layer. If you misalign the shield, lift it immediately using a piece of tape and reposition it. If you're using a wet-install hydrogel protector, you can sometimes re-mist the adhesive side if it hasn't fully cured, but avoid using tap water which contains minerals that leave spots.
Is it better to put a screen guard on in a bathroom?
Yes, a steamy bathroom is the ideal environment for a perfect installation because the humidity grounds airborne dust. The moisture binds to lint and fibers, making them too heavy to float and land on your clean glass. This is a pro-level secret for anyone learning how to put a screen guard on without the frustration of trapped particles. Just ensure the room isn't so damp that moisture interferes with the adhesive's initial tack.
Why does my screen protector have a 'halo' or lift at the edges?
A 'halo' effect occurs when the protector is slightly misaligned or when the screen's edge curvature prevents a rigid protector from sealing. If the guard is even a fraction of a millimeter off-center, it sits on the curved part of the phone's glass, creating a permanent air gap. Always verify that your protector is centered perfectly between the side bezels to ensure the adhesive makes full contact with the flat surface of the display.
How long should I wait before putting a case on after installation?
Wait at least 30 minutes for tempered glass and a full 24 hours for hydrogel protectors before putting your device back in its case. Many protective cases have tight lips that wrap over the screen's edge. If the adhesive hasn't reached its maximum bond strength, the case will catch the edge of the protector and cause it to peel or bubble. Patience is the final step in stewardship over your hardware.
What is the difference between wet and dry application for screen guards?
Dry application relies on the immediate bond of a silicone adhesive and is standard for rigid tempered glass. Wet application uses a specialized mist to temporarily neutralize the adhesive, allowing you to slide a flexible film into the perfect position. Wet application is essential for complex surfaces like the IPG Original Hydrogel because it prevents the material from sticking to itself or stretching during the alignment process.
How do I remove a screen protector without cracking the screen?
Lift one corner gently using a plastic card or a piece of stiff cardstock. Avoid using metal tools or your fingernails, as these can scratch the glass or create uneven pressure points. Once the corner is raised, slowly slide the card under the protector to break the vacuum seal across the entire surface. This methodical approach ensures the protector comes off in one piece without putting undue stress on the underlying display.
Can a screen protector hide existing scratches on my phone?
High-quality protectors can mask light micro-scratches by filling the gaps with their clear silicone adhesive layer. While it won't repair the glass, it restores a smooth tactile surface and improves visual clarity. Understanding how to put a screen guard on an older device can effectively revitalize its appearance and prevent those existing scratches from catching more debris or getting deeper over time.