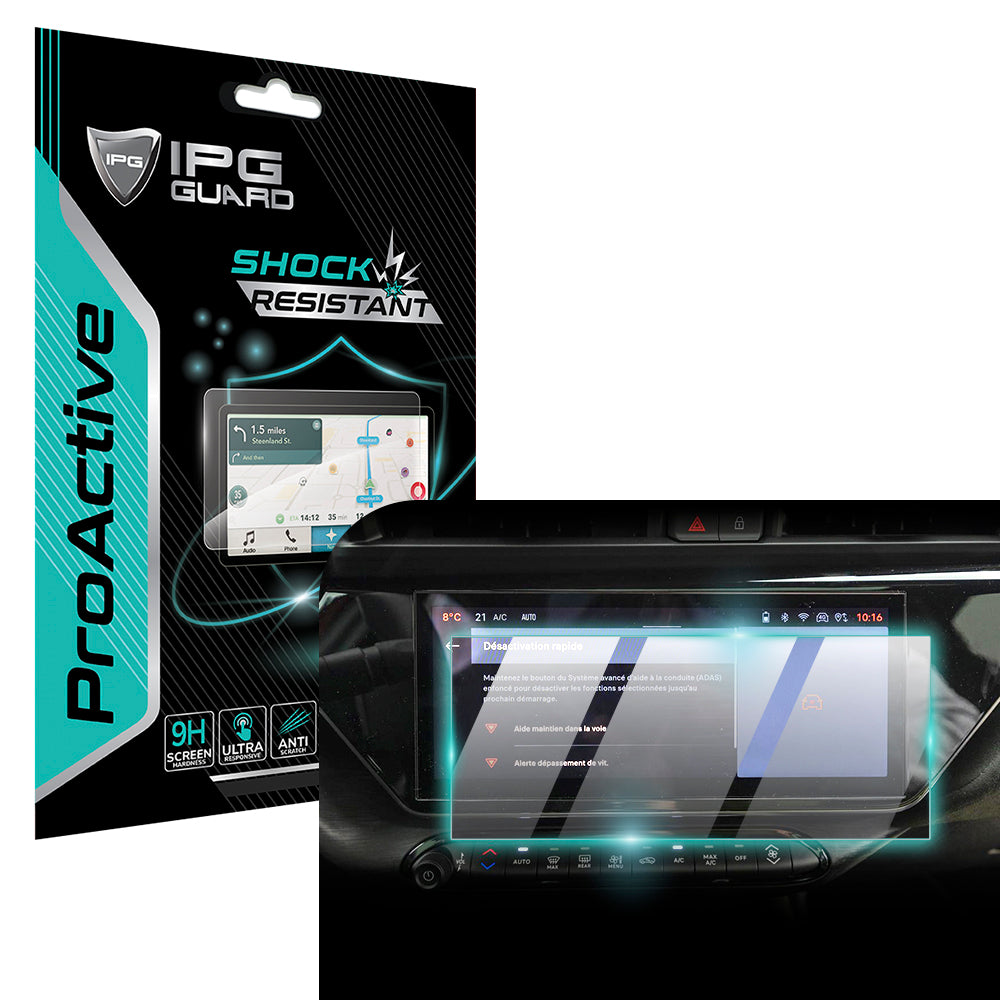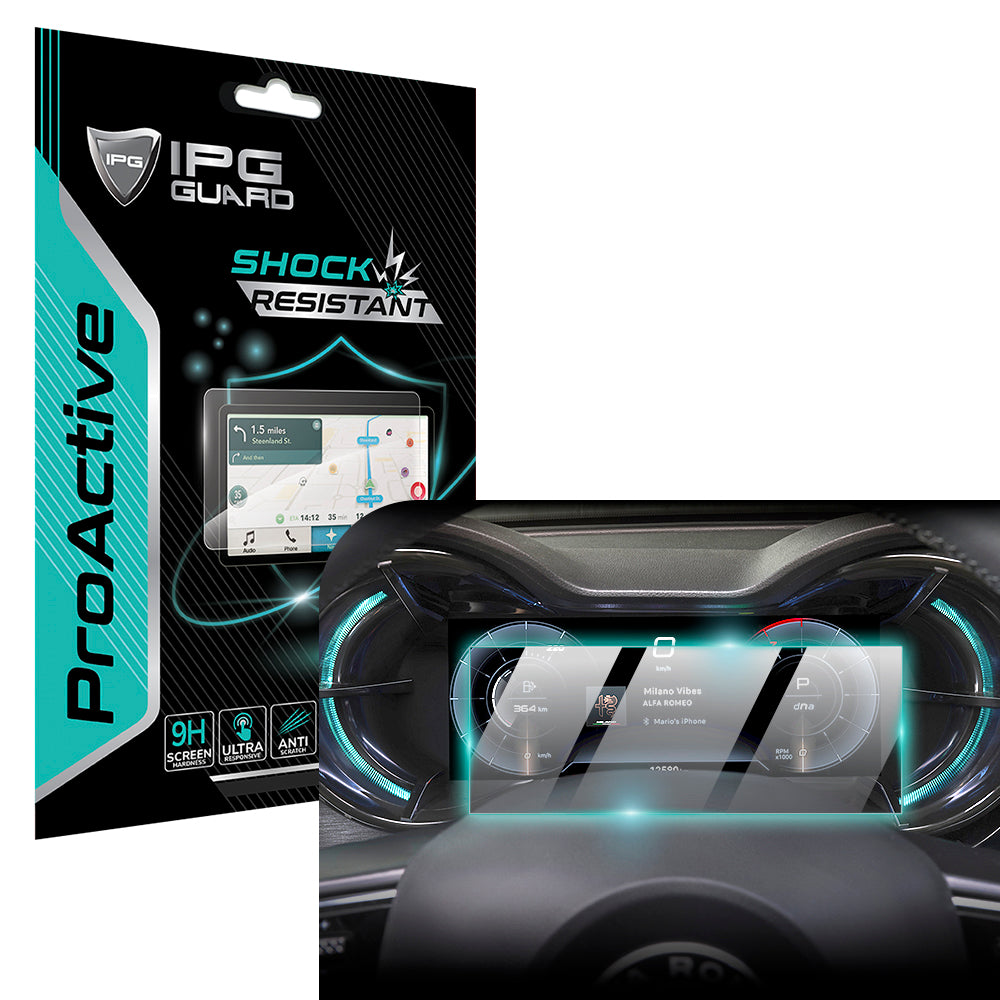
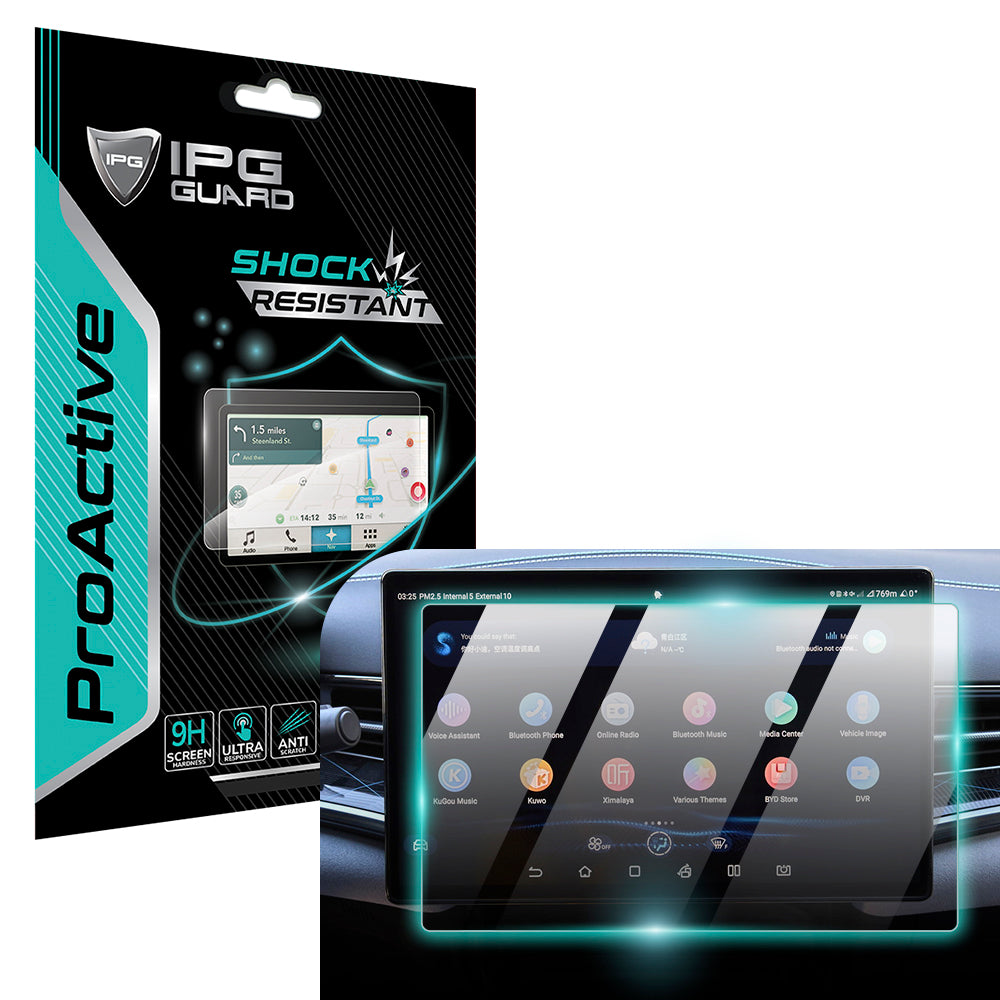


A harder protector isn’t automatically the better fit. A glass protector listing for Snap-on CarScan Code states a 9H hardness rating, but the rating alone won’t tell you how well a protector fits the display or whether its edges will stay down. Choosing a Snap-on screen protector means weighing the material, screen coverage, and fit together.
It’s frustrating to protect a valuable display and still find bubbles, edge halos, or scratches that make you question the choice. This guide explains how glass and hydrogel differ, what scratch protection can and can’t do, why edges may lift, and how to troubleshoot installation and adhesion. Use these practical checks to diagnose the problem and choose a Snap-on screen protector suited to your device and work.
Key Takeaways
- Compare glass and hydrogel by fit, feel, and the kind of everyday wear you want to guard against.
- Understand what a hardness rating can tell you about scratch resistance, and what it can’t promise about impact damage.
- Trace halo effects and lifted edges to common causes such as screen shape, alignment, or trapped debris.
- Use a careful installation and troubleshooting approach to reduce bubbles and improve edge adhesion.
- Match screen and camera protection to your device, so the areas you value stay covered without compromising fit.
Protecting screens from scratches and other damage
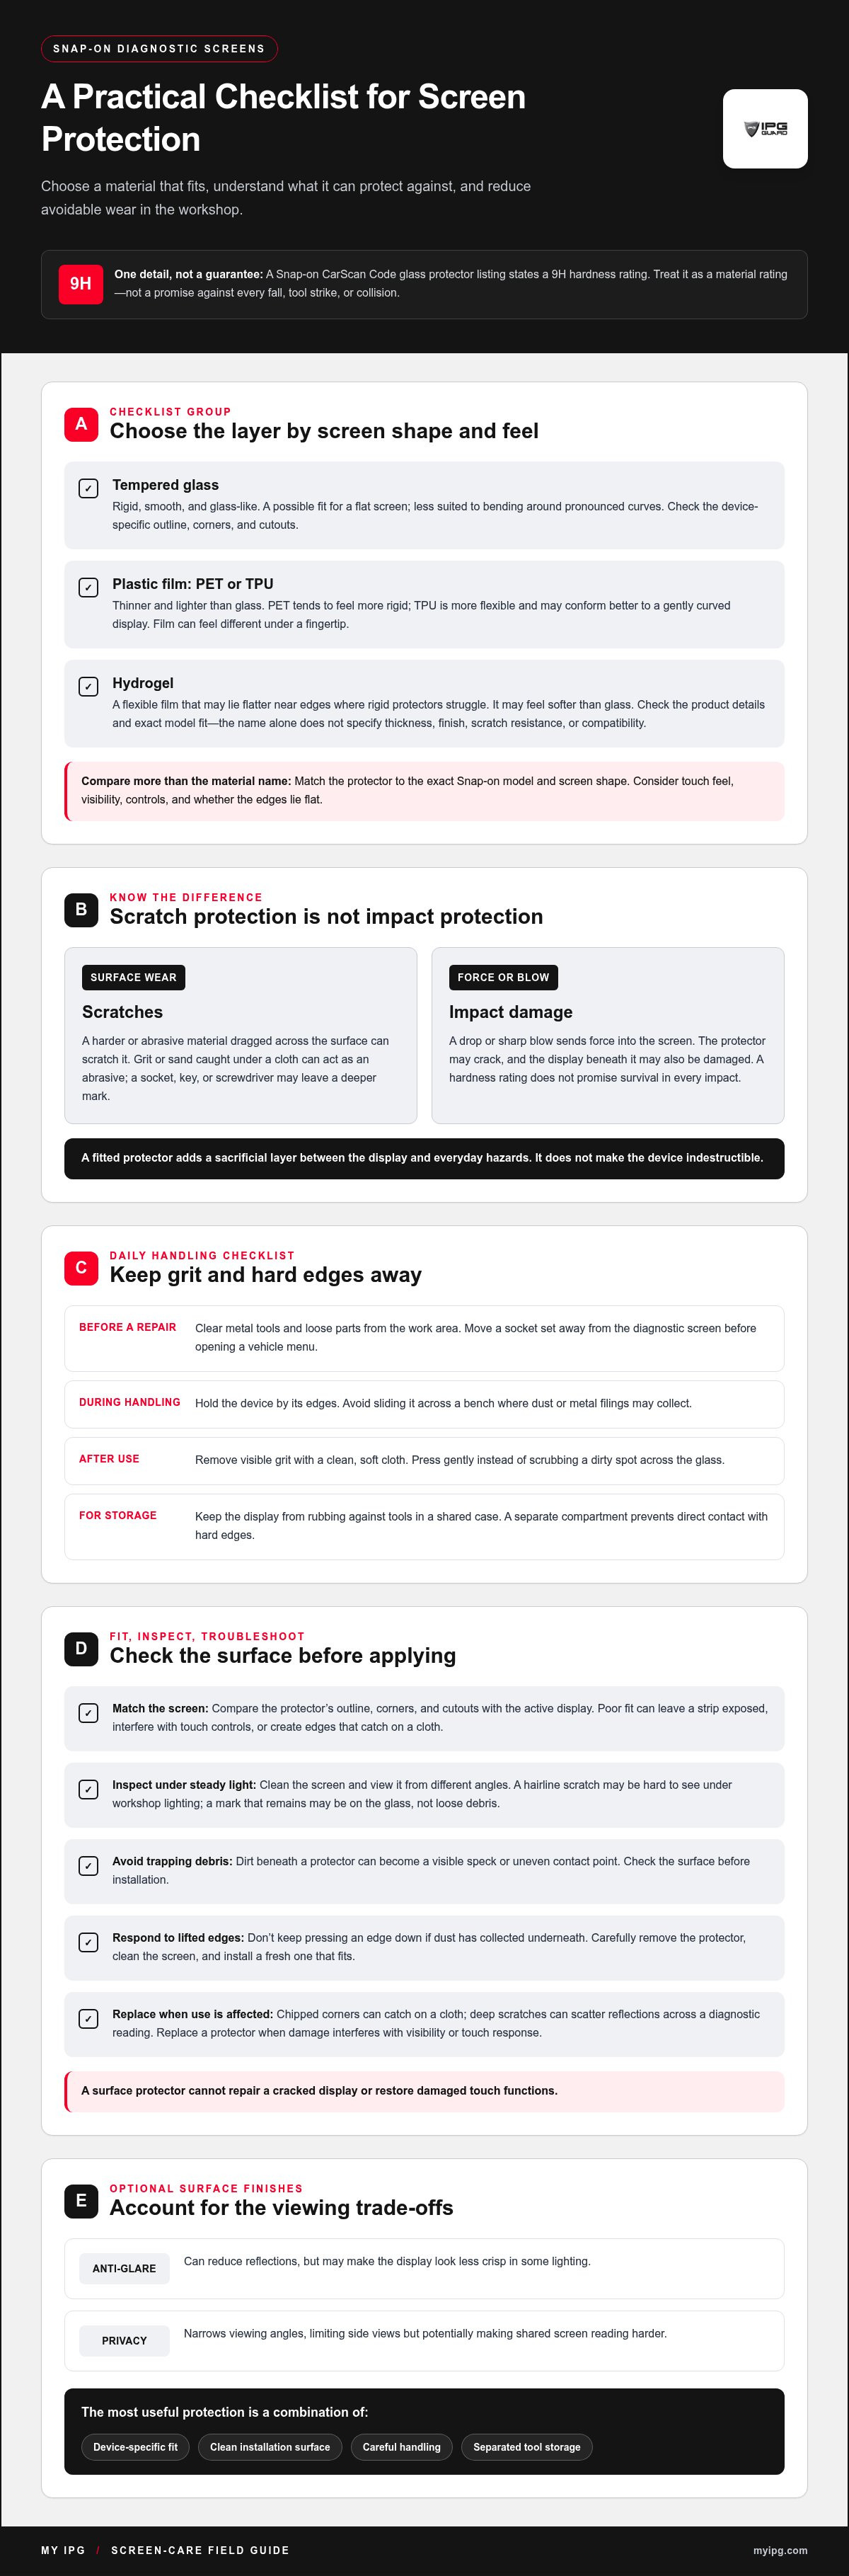
A diagnostic touchscreen faces more than fingerprints during repairs. It may slide across a workbench, sit beside metal sockets, or pick up grit from a vehicle interior. These everyday contacts can mark an exposed display and make menu labels harder to read. A fitted protector adds a sacrificial layer between the screen and those hazards. It won’t make the device indestructible, but it can take wear that might otherwise reach the display.
Separate scratch protection from impact protection. A scratch forms when a harder or abrasive material drags across the surface. A drop or a sharp blow sends force into the screen and can crack either the protector or the display beneath it. A glass protector listing for Snap-on CarScan Code states a 9H hardness rating. Treat that as a material rating, not a promise that the screen will survive every fall, tool strike, or collision.
Grit is a common cause of fine scratches. Dust or sand caught between a display and a cloth can act as an abrasive during wiping. A socket edge, key, or screwdriver may leave a deeper mark on contact. Keep the tool face clear while working. Set the diagnostic unit on a clean, stable surface away from loose hardware, and remove visible grit before cleaning the screen.
- Before a repair: Clear metal tools and loose parts from the work area. For example, move a socket set away from the diagnostic screen before opening a vehicle menu.
- During handling: Hold the device by its edges. Avoid sliding it across a bench where dust or metal filings can collect.
- After use: Remove visible grit with a clean, soft cloth. Press gently rather than scrubbing a dirty spot across the glass.
- For storage: Keep the display from rubbing against tools in a shared case. A separate compartment prevents direct contact with hard edges.
Coverage matters as much as material. A protector that leaves a strip of display exposed cannot shield it from a passing tool. A poor fit may also interfere with touch controls or create edges that catch on a cloth. Match the protector to the exact Snap-on device model and screen shape. Before installation, compare its outline, corners, and cutouts with the active display.
Inspect the screen under steady light before applying a protector. A hairline scratch can be hard to spot under workshop lighting, especially with the display off. Clean the surface, then view it from different angles. If a mark remains, it is likely on the glass rather than loose debris. A protector installed over dirt traps it underneath, creating a visible speck or uneven contact point.
Replace a protector when damage interferes with visibility or touch response. A chipped corner can catch on a cleaning cloth, while a deep scratch can scatter reflections across a diagnostic reading. Don’t keep pressing a lifted edge down if dust has collected underneath. Carefully remove the protector, clean the screen, and install a fresh one that fits. Surface protection cannot repair a cracked display or restore damaged touch functions.
Choose protection around the way the diagnostic tool is used. A clean indoor bench creates different scratch risks from a mobile repair setting with loose parts and vehicle debris. In both cases, a correctly fitted protector, careful cleaning, and separated tool storage work together. The 9H rating on the Snap-on CarScan Code glass listing offers one concrete material detail. Fit, surface condition, and handling determine how effectively the screen is protected in daily use.
Screen protector material options
Material affects how a protector feels, flexes, and handles contact. For a Snap-on diagnostic tool, consider the display shape, touch controls, and work setting. A flat glass panel has different fit requirements from a screen with curved edges. Choose a material that covers the active display without obscuring controls or creating an edge that catches during handling.
Tempered glass is rigid and provides a smooth, glass-like surface. It can add a firm layer over a flat screen while retaining a feel close to the uncovered display. Its rigidity makes it less suited to bending around pronounced curves than flexible film. Check the device-specific outline, corners, and cutouts rather than relying on a generic sheet. A glass protector that doesn’t match can leave edges exposed or interfere with the display border.
Glass hardness ratings describe a material property, not every kind of protection. A rating doesn’t mean a protector cannot chip or that the display beneath it cannot crack after a hard impact. A rigid layer may resist surface wear but still be vulnerable to a sharp blow. Consider the type of contact: a loose socket sliding across the screen is different from a tool dropped onto it. Material choice can help with surface contact, but careful handling still matters.
Plastic film is a thinner, lighter alternative. PET film tends to feel more rigid, while TPU is more flexible and may conform better to a gently curved display. Film generally feels different from glass under a fingertip, so consider how often you tap, swipe, or enter readings on the diagnostic screen. A softer film may also show marks differently from a rigid layer. Compare visibility and touch feel, not just the material name on the packaging.
Hydrogel protectors are flexible films that can suit screens where rigid protectors struggle to lie flat near the edges. They may feel softer than glass, which some users notice during repeated taps through diagnostic menus. The word “hydrogel” alone doesn’t specify thickness, surface finish, scratch resistance, or compatibility. Check the product details and exact model fit. A film designed for one Snap-on tool may not fit another tool’s screen.
Surface treatments can change the viewing experience without changing the base material. An anti-glare finish can reduce reflections but may make the display look less crisp in some lighting. A privacy treatment narrows viewing angles, limiting side views but potentially making shared screen reading harder. An oleophobic coating is intended to resist fingerprints and face oils. Treat these as separate features: don’t assume a glass or film protector includes them unless the product description says so.
Use this practical comparison before selecting a material:
- Choose by shape: Match the protector’s outline to the exact diagnostic tool display, especially around curved edges and corners.
- Choose by feel: Compare rigid glass with flexible film if frequent tapping makes surface response important.
- Choose by setting: Consider whether the tool stays on a clean bench or travels among loose equipment and vehicle debris.
- Choose by visibility: Compare clear, anti-glare, or privacy finishes against the lighting and viewing angles you use.
Installation affects the result as much as material choice. Before applying glass or film, clean the display and remove lint. Align the protector with the screen edges and controls before lowering it into place. Rigid glass is harder to adjust once it touches the display. Flexible film may conform more readily, but trapped dust can still create visible bumps. Follow the product’s instructions and don’t stretch film beyond its intended fit.
For a workbench with metal tools nearby, prioritize accurate coverage and a surface that’s easy to clean. Flexibility may help a protector sit against the edges of a curved screen. If touch response is your priority, compare how a compatible protector feels in use. The right Snap-on screen protector fits the exact device and suits your preferred finish and daily handling.
Troubleshooting installation problems
A clean, aligned application starts before the protector touches the display. Work on a dry, stable surface away from open vehicle doors or fans that can move dust. Turn off the diagnostic tool so the dark screen makes lint, fingerprints, and existing marks easier to spot. Read the protector’s instructions first, as adhesive layers and application methods vary between glass and flexible film.
Clean the screen with materials recommended for the protector. Remove visible particles before wiping, since rubbing grit across the display can scratch it. Use a clean microfiber cloth, then inspect the surface under angled light. A speck near the center can create a bubble; debris near an edge can prevent close contact. Avoid touching the cleaned area before positioning the protector.
Align the protector before exposing its adhesive. Hold it above the display and compare its corners, edges, and cutouts with the screen. If it’s off-center, reposition it while it is still supported. Once the adhesive touches the display, don’t drag the protector sideways. Doing so can trap lint or stretch flexible film, leaving a poor fit around the tool’s controls.
- Prepare: Clean and dry the display, then check the screen outline and protector orientation.
- Position: Line up the edges and cutouts before lowering the adhesive surface.
- Apply: Lower the protector gradually, following its supplied instructions.
- Inspect: Check for bubbles, dust, and lifted corners under steady light.
Small bubbles often form when air gets trapped during application. With a clean cloth or the supplied applicator, press gently from the bubble toward the nearest edge. Don’t use a sharp tool, which can scratch the protector or screen. If a bubble contains a visible speck, pressure won’t remove it. Carefully lift the nearest edge, remove the debris without touching the adhesive, then lower the protector again.
A pale halo around the perimeter has a different cause from a central air bubble. It can appear where a protector doesn’t make full contact near curved edges or where the screen shape and protector outline don’t match. A reported iPhone 7 case had the same halo effect with eight different protectors. That example shows why repeated reapplication may not solve a fit-related halo. Check edge alignment and screen curvature before trying again.
If an edge lifts, inspect the full perimeter before pressing it down. Dust, a fingerprint, or misalignment can prevent close contact. Cleanliness matters most before application; wiping over a lifted adhesive edge can push debris underneath. If the same corner keeps rising, check whether the protector matches the display shape. A protector extending over a curved area may not sit flush, even after careful smoothing.
Touch response can help identify an installation problem. Open a diagnostic menu and tap controls near the center, corners, and edges. If one area responds poorly, check for a trapped bubble, shifted alignment, or an edge covering active controls. Don’t assume the protector is always the cause. Check the display without pressing it and follow the device’s normal operating steps before deciding whether to remove the protector.
If dust or a crease remains, avoid repeated lifting and reapplication. Each attempt gives adhesive another chance to collect lint or lose contact. Remove a damaged protector carefully and clean the display before fitting a replacement. For a device-specific fit, explore screen protection options suited to diagnostic tool displays.
If an edge lifts after application, check for dust or a fingerprint before pressing it down. If you find either, carefully lift the affected edge and remove the cause without touching the adhesive. If the protector is misaligned, don’t force it sideways; reposition it while supported and follow the instructions. The product includes a custom alignment tray. Use it to guide placement and compare the edges and cutouts with the display before the adhesive makes contact.
If bubbles or lifted areas remain, check for trapped debris or a fit mismatch instead of repeatedly pressing the same spot. Keep fingers off the display and adhesive while correcting the issue. Once aligned, lower the protector gradually and inspect the perimeter under steady light. If an edge still won’t sit close, review the protector’s instructions rather than using a sharp tool or dragging the sheet.
My IPG: IPG Phone camera lens protector
My IPG’s IPG Phone camera lens protector helps shield a phone camera lens from everyday surface contact. Choose protection based on the device and the area you want covered: the lens protector is for camera lenses, while the IPG iPhone screen protector and IPG Samsung screen protector are for their respective phone displays. They aren’t substitutes for a diagnostic-tool screen protector, which needs to fit the exact tool display. If you’re protecting a phone alongside workshop equipment, match each protector to its intended device and surface. Visit myipg.com to explore My IPG’s screen and camera lens protection options.
Keep your next repair session screen-ready
Make protection part of your diagnostic tool’s regular care. Before choosing a Snap-on screen protector, identify the exact device and consider how you handle its display at work. A well-matched protector helps keep the screen usable without interfering with daily operation. My IPG offers screen protectors for Snap-on diagnostic tools, including ProActive options. Choose one matched to your device, follow its installation instructions, and keep the display clean during use and storage.
If you’re also protecting a phone, My IPG offers an IPG Phone camera lens protector, an IPG iPhone screen protector, and an IPG Samsung screen protector. Choose the option that matches the device and the surface you want covered. For help exploring My IPG’s protection options, contact My IPG. Give your devices thoughtful, properly matched protection, and keep your work moving with confidence.